3D printing’s marvel lies in turning imagination into reality. However, its success heavily depends on the accuracy of the first layer. After countless hours with my Prusa Mini+, I’ve learned that an accurate first layer drastically reduces print failures. Here are the vital steps to ensure it.
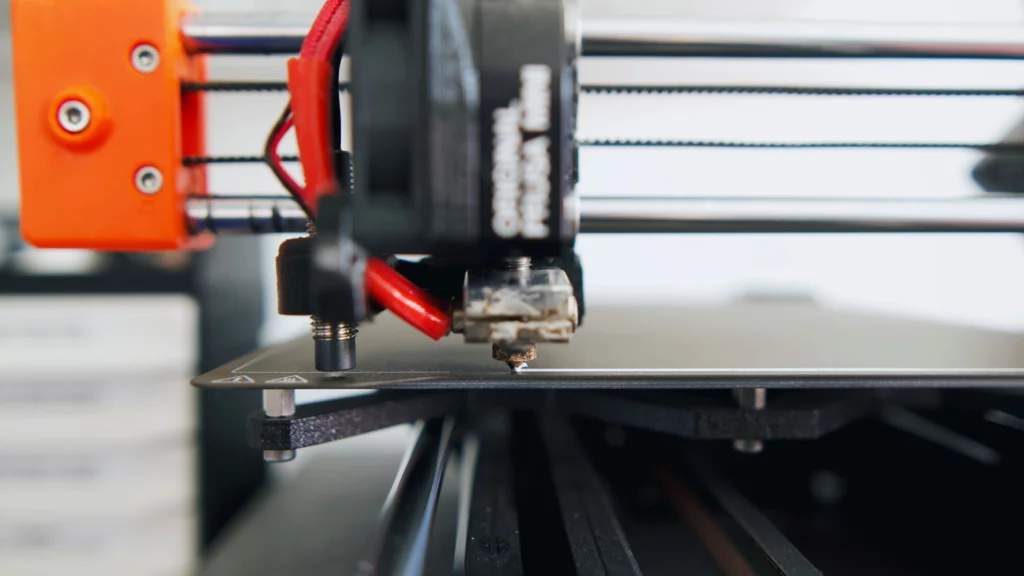
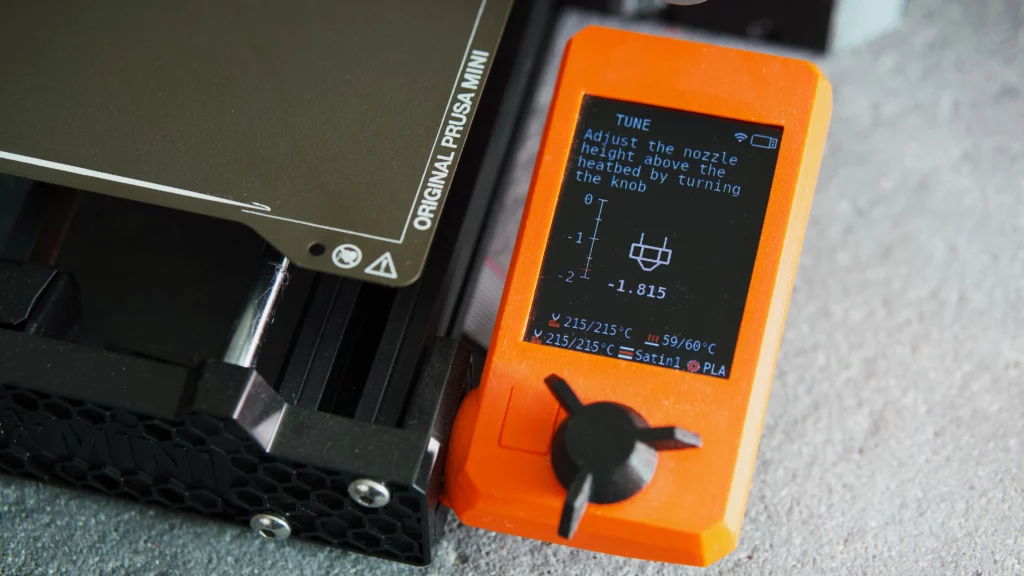
1. Adjust the z-offset
The right distance between the nozzle and the print bed is crucial. Too high, the filament won’t stick; too low, it becomes too squished and might peel off. The perfect z-offset slightly compresses the filament, establishing an even, solid base for subsequent layers.
2. Clean the Bed
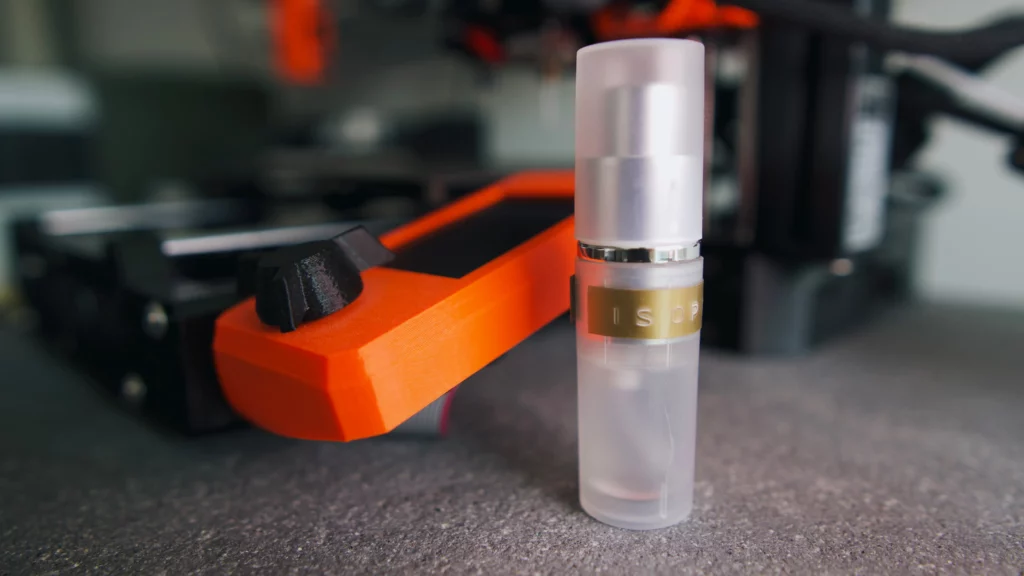
Before starting any print, clean the bed using isopropyl alcohol (IPA). This not only removes all residues effectively from the bed, but also enhances the filament’s adhesion to the bed.
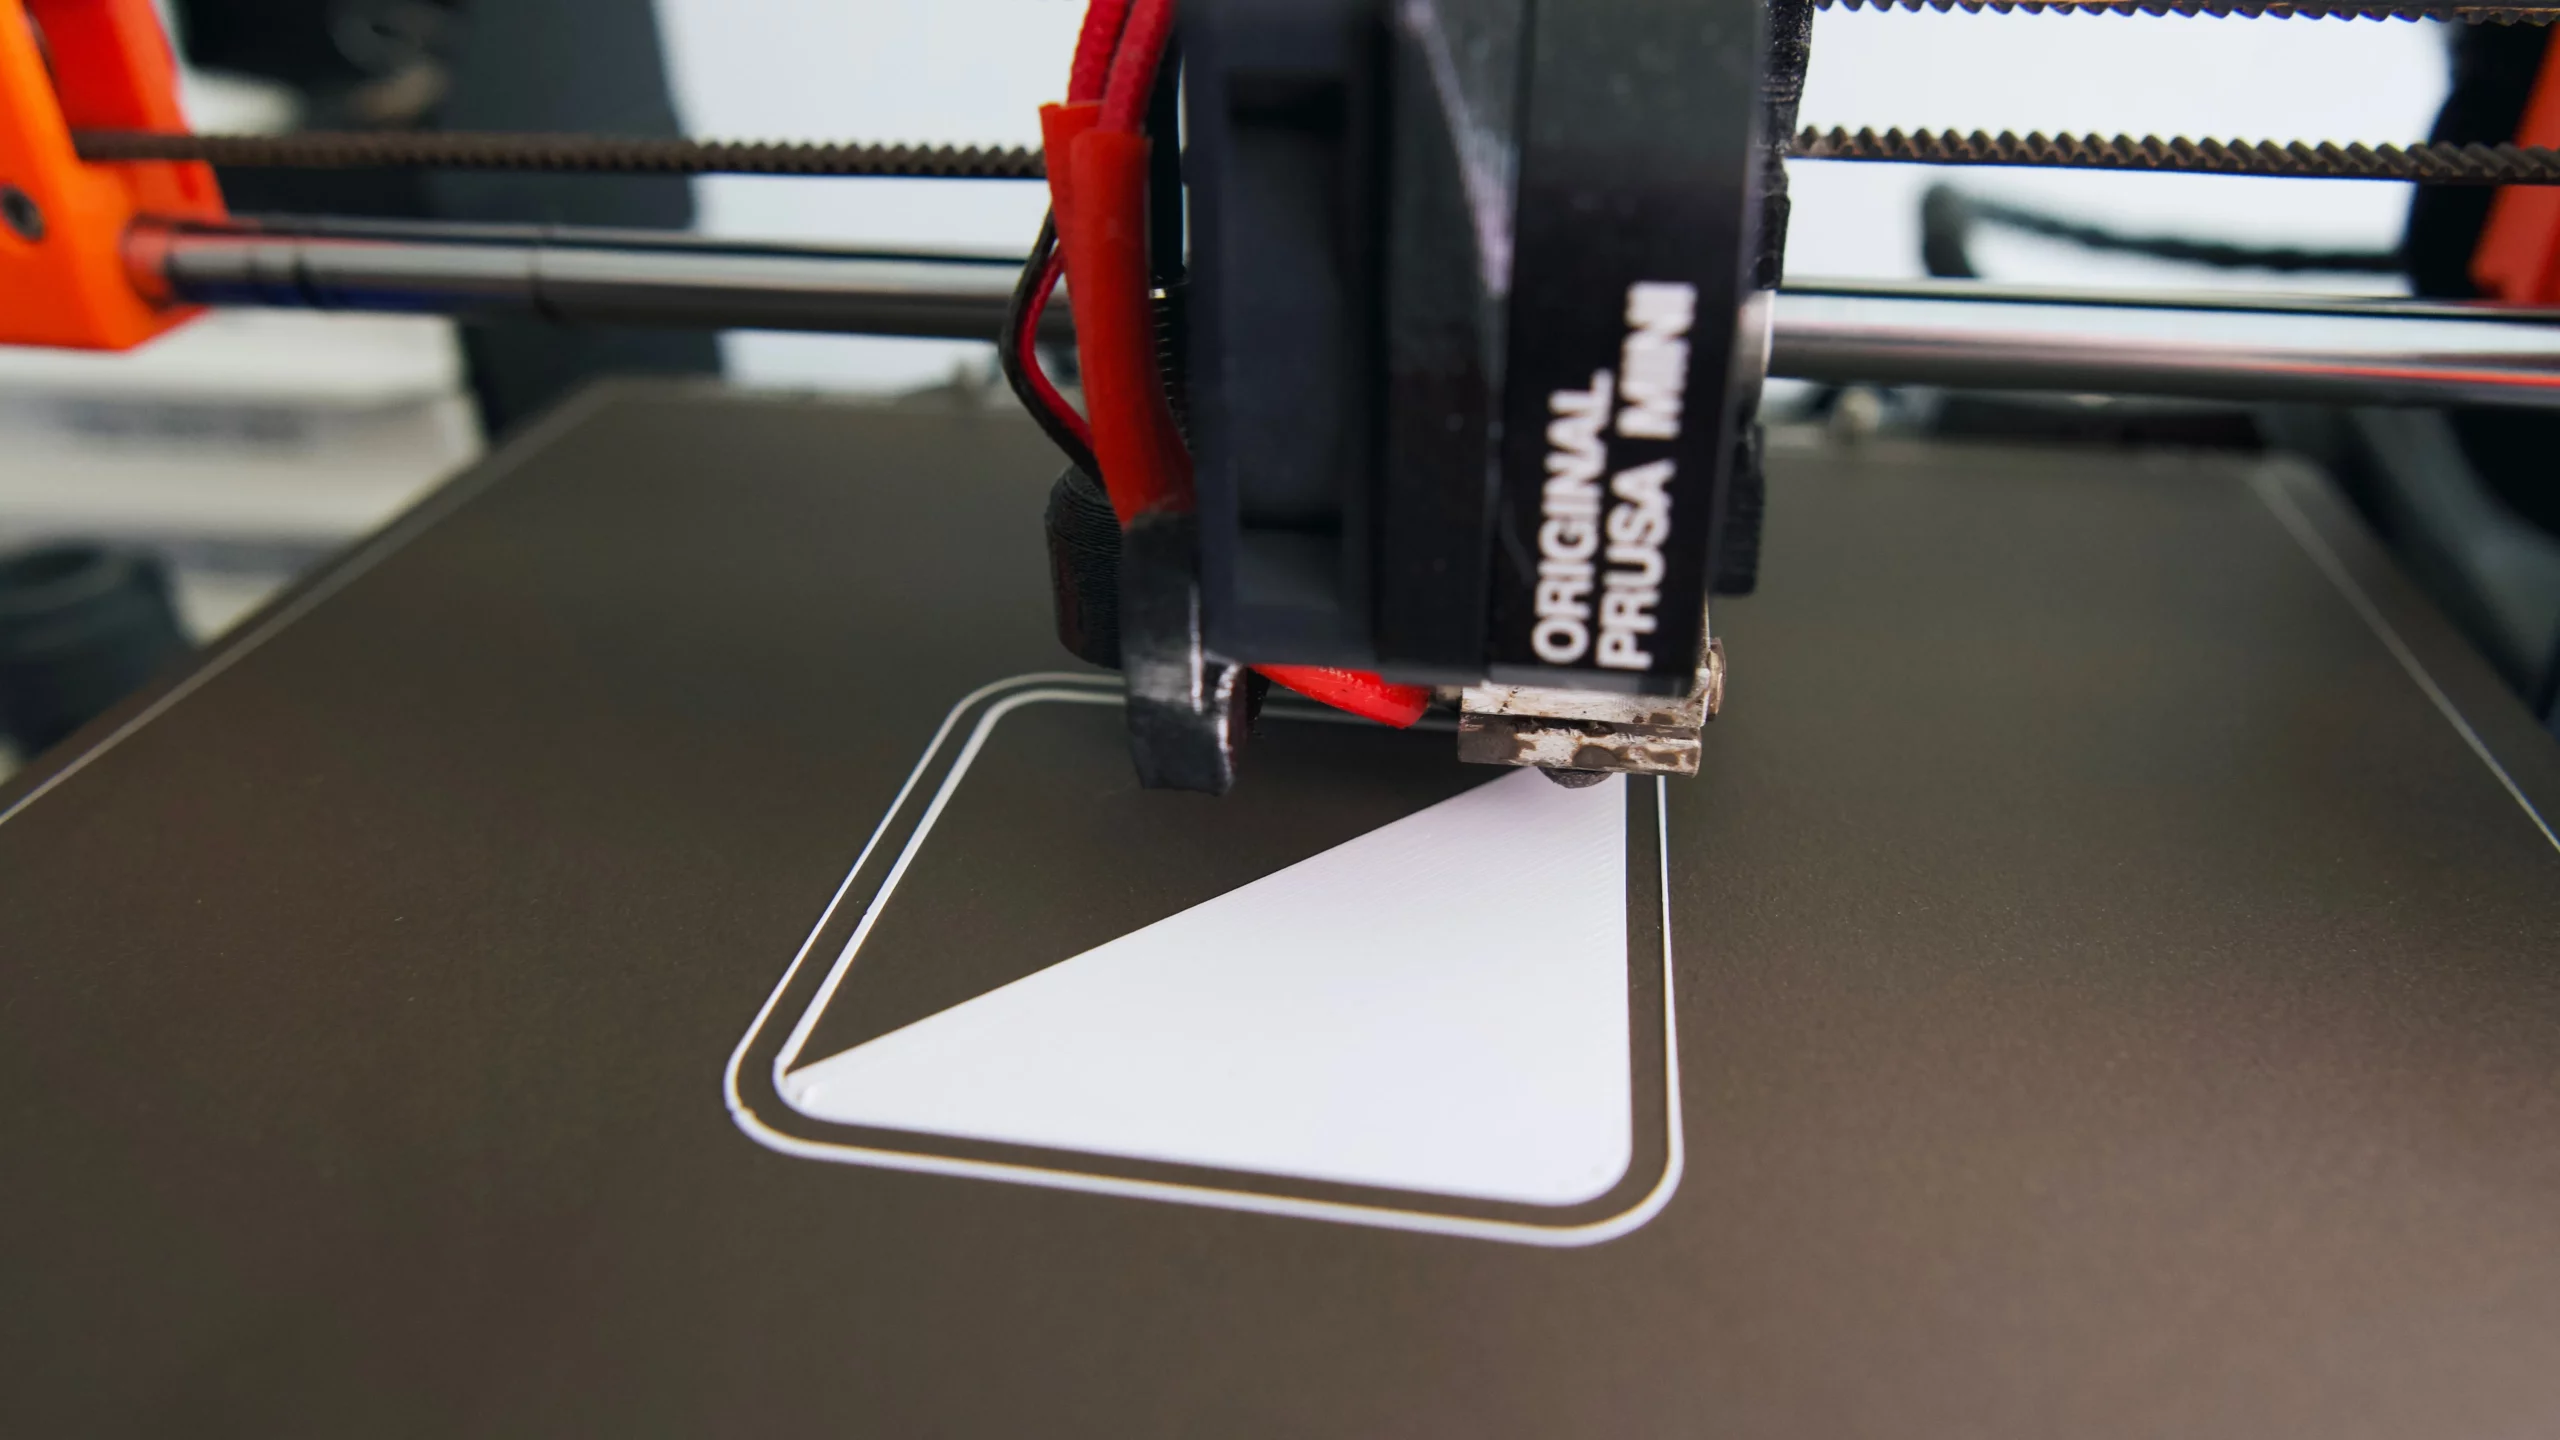
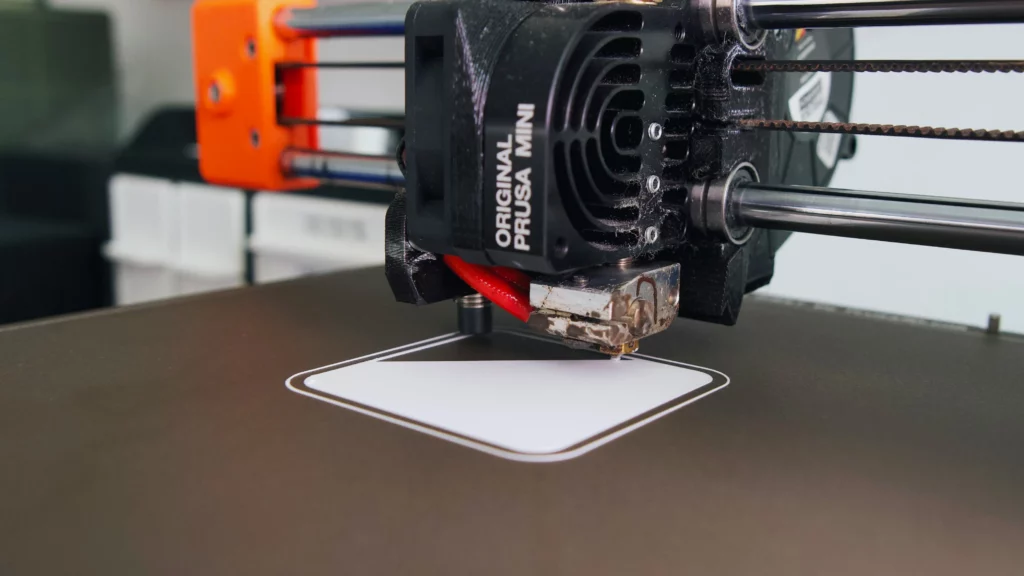
3. Monitor the First Layer
Watch your printer laying down the first layer to ensure it’s well done. There should be no gaps between layer lines and the filament shouldn’t peel off from the print bed. Make minor adjustments to the z-offset if needed. If bigger adjustment are needed, stop the print, calibrate, clean and restart the print.
4. Consider a Brim
If the first layer surface is very small, your print may detach during the print. If the print surface is very large, it might warp later during the print due to thermal contraction when cooling. In both cases, try using a brim, an extra layer around the object. It offers extra bed adhesion by increasing the filament’s surface area.

Conclusion
Getting the first layer of your 3D print right is essential for a successful print. With correct z-offset, a clean bed, monitoring early stages, and utilizing tools like brims when needed you’re on your way to perfect prints. Happy printing!

Leave a Reply